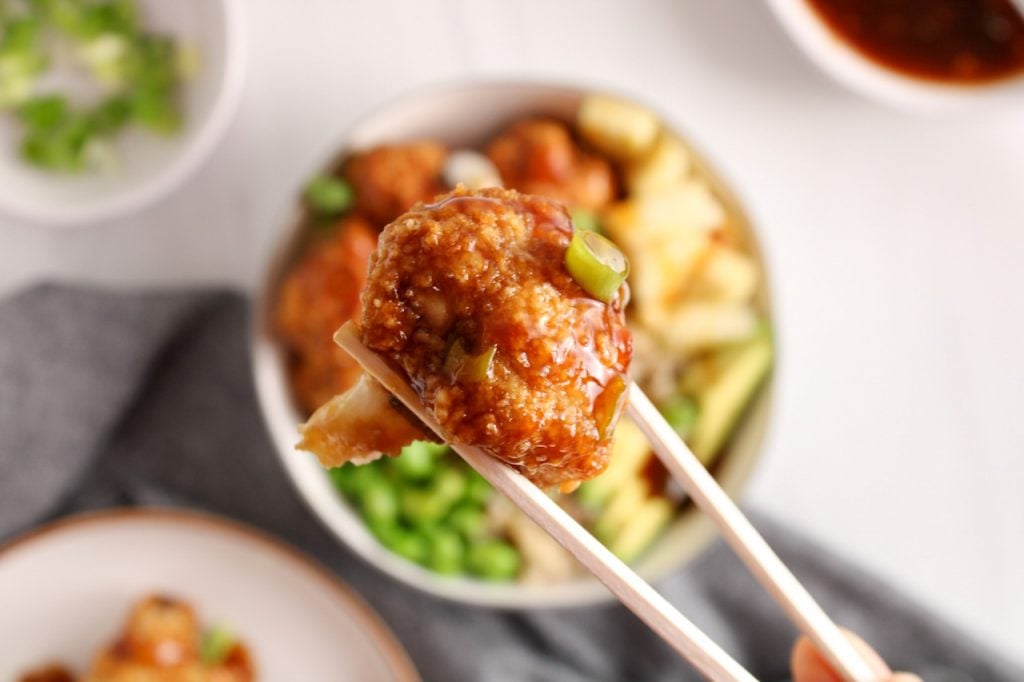
This teriyaki cauliflower is made by tossing oven-baked breaded cauliflower bites in a sweet, sticky and easy-to-make homemade teriyaki sauce. It is so delicious and perfect as a satisfying dinner, finger food or even a fun party appetizer.

If you love take out Asian food, then this recipe will be right in your alley. It has the same addictive rich and savory flavor than the one from delivery, but in a much healthier way. This recipe is a must-try!
Why you will love this teriyaki cauliflower
- Very satisfying
- Great texture without using any oil (no frying)
- Healthy
- Easy and tasty way to eat more vegetables
- Kid friendly
How to make teriyaki cauliflower
Just like in this orange cauliflower, breading cauliflower florets before cooking them brings lots of interesting texture and makes them more hearty and filling. You will cover the pieces with a batter (flour and water based) and then roll them in panko. This will help get the cauliflower pieces get nice and crispy, even without using any oil. And it is very easy to make!
1- Make the oven-baked breaded cauliflower bites
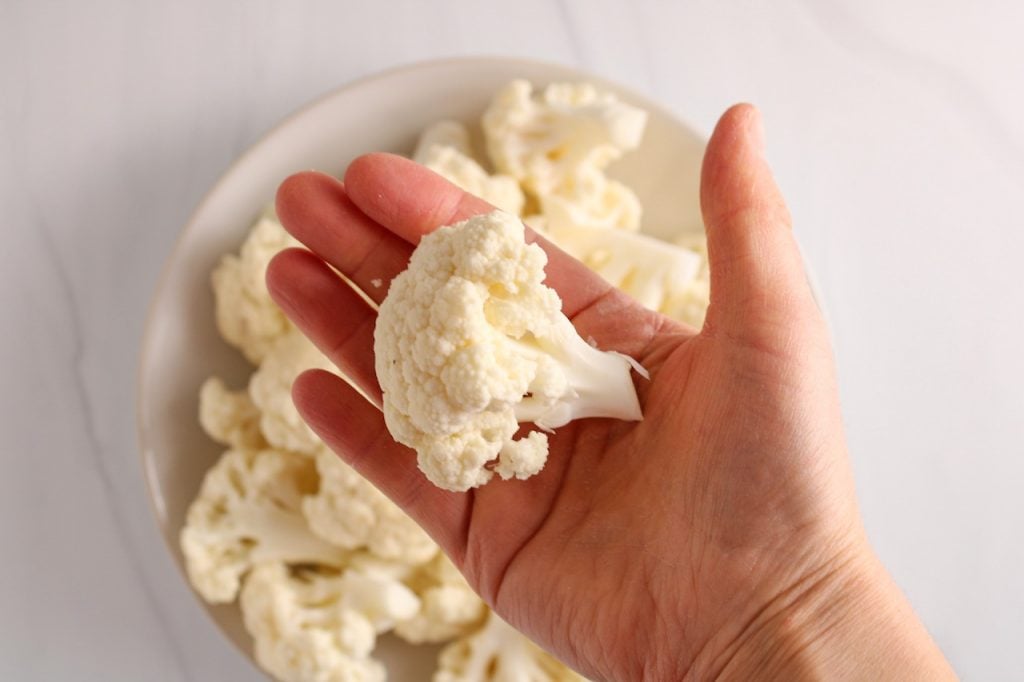
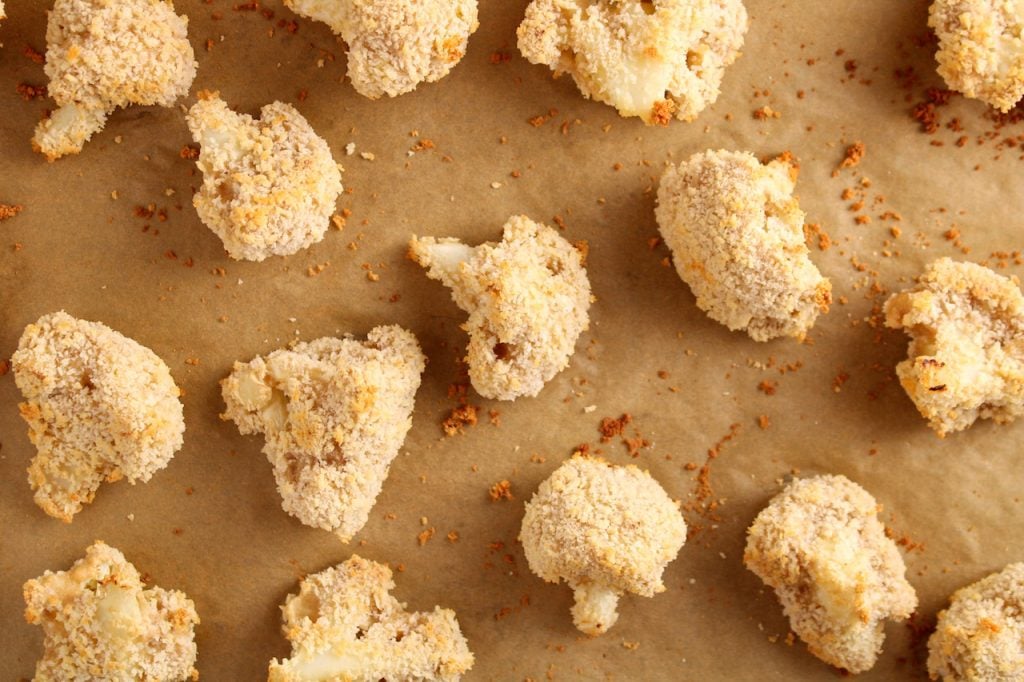
Chop the cauliflower in florets. Keep them large enough, see the picture below.
Prepare the batter: combine the flour, water, onion and garlic powder and whisk until there are no clumps anymore (expect a thick batter). Place the panko breadcrumbs on a plate or shallow bowl.


Dip the floret in the flour-water batter one at the time. Don't be afraid to get your hands covered!
Then, roll each florets in the panko to completely coat the pieces.
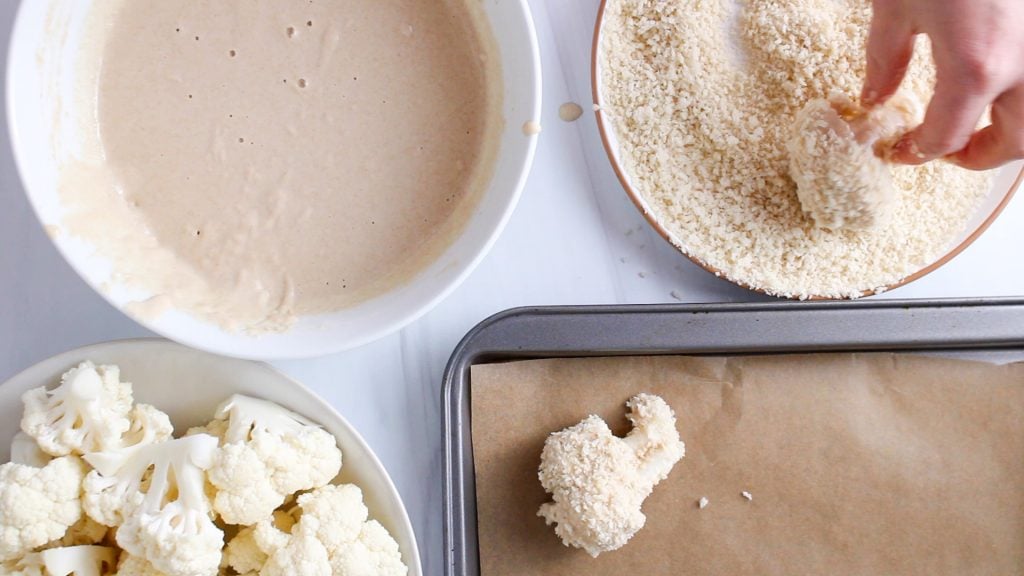
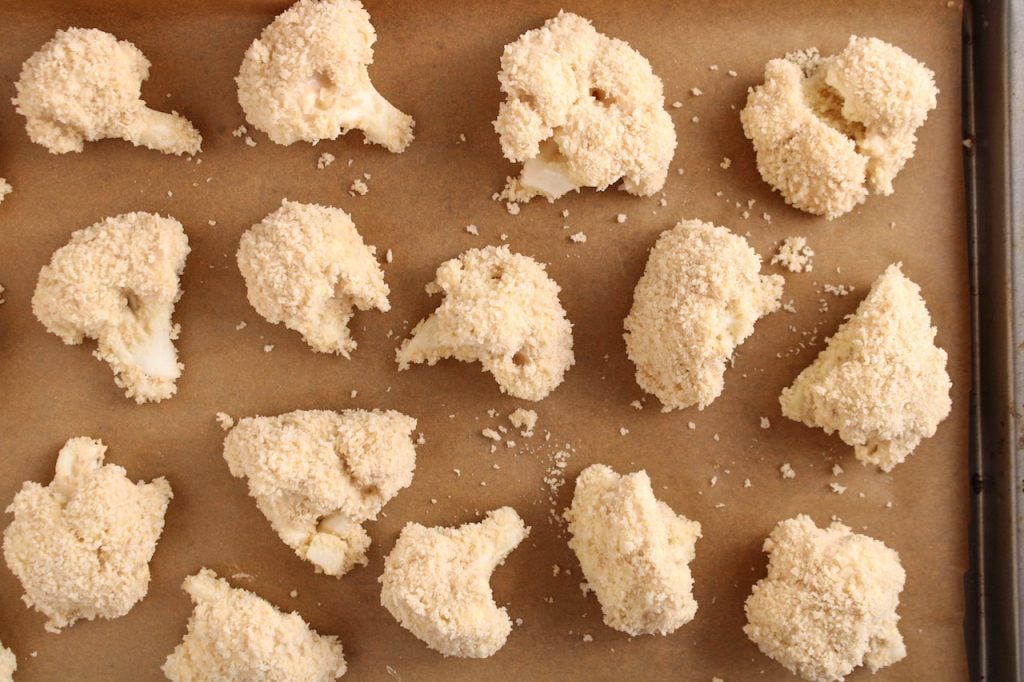
Place the covered cauliflower pieces on a parchment paper covered baking sheet and cook in the oven.
2- Make the homemade vegan teriyaki sauce
While the cauliflower bites are cooking, make the sauce: Combine the soy sauce, maple syrup, water, rice vinegar, garlic, ginger, green onion and corn starch together in a sauce pan and cook, while whisking, for about 5 minutes until bubbly and thick. That's all!


3- Combine cauliflower + teriyaki sauce
Once the cauliflower bites are done and the sauce is nice and thick, then simply toss the breaded florets in a little more than half of the sauce, just enough to coat the pieces. Keep the rest of the sauce for drizzling!

Watch how to make it

Tips when making this oven-baked teriyaki cauliflower
- When preparing the cauliflower bites, keep the florets big enough rather than small. This will prevent the vegetable from getting too soft while giving enough time for the breading to cook and brown.
- When breading the cauliflower florets, try to remove the exceeding batter before rolling them in the panko breadcrumbs. To do this, after covering the florets, simply hold them by the stems and hit the side of the bowl for the extra batter to drip (see video).
- Using a panko type of breadcrumbs helps the florets get crispier without frying. You could also use regular breadcrumbs if that's all you have, but it won't be as crispy. I actually made it without the panko all together while testing the recipe and it was still good.
- When placing the breaded cauliflower on the baking sheet, give enough space in between the pieces. If too close to each other, the florets could steam instead of roasting, which might make the bites less crispy.
- I love making my own teriyaki sauce, but if there is a brand that you already love, then you can simply use a store-bought one. In this case, you can skip all the ingredients to make the sauce, bread the florets then toss them in your warmed up teriyaki sauce.
- When tossing the cooked cauliflower in the teriyaki sauce, I recommend you use only a little more than half of the sauce you prepared. I found that coating the pieces with less sauce prevented the cauliflower bites from getting softer, plus it gives leftover sauce to drizzle on top at serving.
- If you know you will want lots of sauce (especially if you make a rice bowl), then don't hesitate to make double batch of the sauce for more drizzling!
How to make teriyaki cauliflower gluten-free
If you are following a gluten-free diet, then this recipe is very easy to adapt to your diet needs:
- Choose a gluten-free flour when making the batter. Any type of flour will work well here, like rice flour and gluten-free wheat flour.
- Choose gluten-free panko breadcrumbs. I love this panko from Kikkoman.
- Choose tamari instead of regular soy-sauce.
Serving suggestions
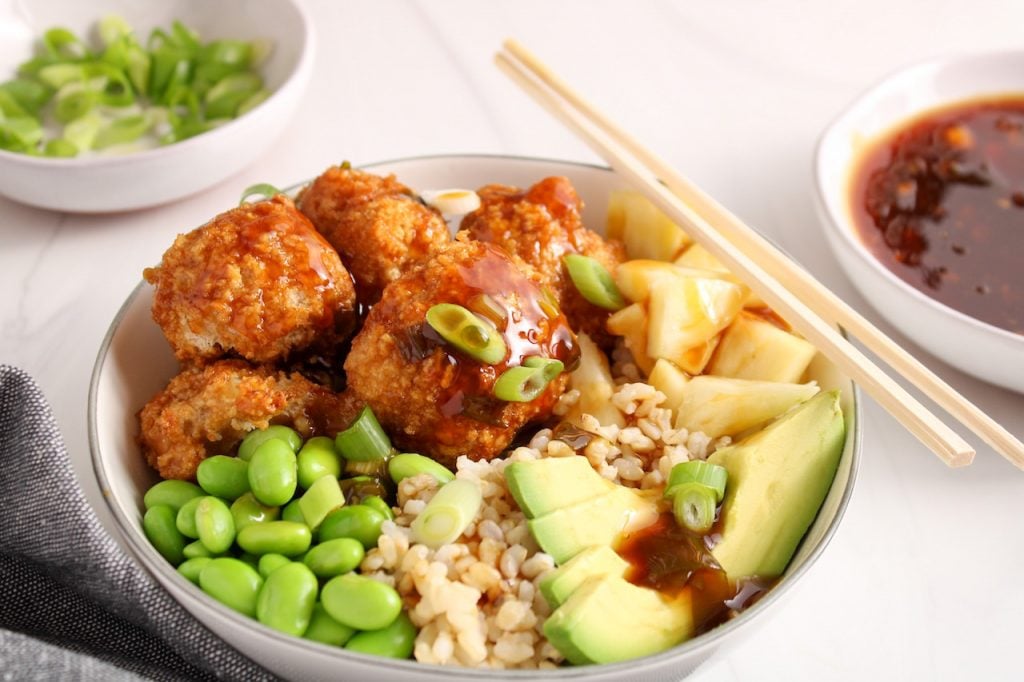
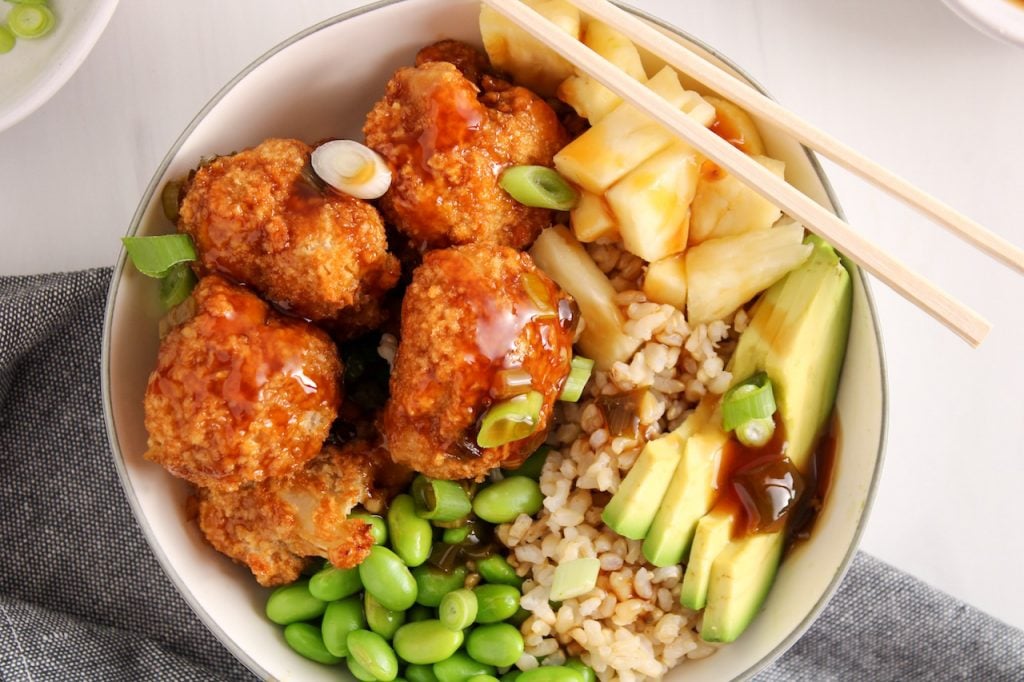
This teriyaki cauliflower can be served in so many ways! I like to serve it as part of a meal and top brown rice, quinoa or noodles with it. It also makes for a perfect appetizer or finger food served at parties. Or make a teriyaki cauliflower buddha bowl as seen in the pictures!
How to make a teriyaki cauliflower buddha bowl
My favorite way to enjoy teriyaki cauliflower is to include it in a colorful and nourishing buddha bowl. It's simple, very appetizing and easy to customize. Here is how I make it:
- Brown rice. Start cooking the rice before making the cauliflower bites as it can take up to 40 minutes to cook on the stove. You can also keep some in your freezer so it's ready within 2 minutes! I love this frozen cooked brown rice from the brand 365.
- Diced pineapple. Adds a fresh and sweet touch to the meal and pairs so well with the teriyaki sauce. I use fresh pineapple, but frozen then thawed or canned works too. Kids love mixing up sweet fruits in savory meals!
- Edamame. Adds a nice bright color and extra valuable protein. I buy these frozen and already shelled edamame from the brand 365. When in a rush, I simply thaw them in a bowl filled with water in the microwave for about 2 minutes, then drain.
- Avocado. Adds healthy fats and a delicious creaminess.
- Top with sliced green onion and a good drizzle of the leftover teriyaki sauce.

Recipe variations
- I love adding garlic and onion powder when making the flour-water batter, but you can be creative and use the spices of your choice. Red pepper flakes, black or white pepper or ginger powder would also work well.
- You can also add pineapple (fresh, frozen or canned) right to the sauce pan when making the teriyaki sauce. It adds extra sweetness and a fun texture! To do this, simply dice the fruit in small cubes and add about ½ cup to the sauce pan with all the other ingredients.
Can I prepare teriyaki cauliflower ahead of time?
Yes, you can, although you will loose some of the crispy texture as the breading from the cauliflower bites will absorb the sauce during storage. When I make this recipe, I still make a lot so we have leftovers for lunch the day after and it remains very good.
If you want to give the recipe a head start, then you could make the teriyaki sauce ahead of time and store it in the fridge until ready to coat the cauliflower bites. I recommend you to reheat the sauce and give it a good whisk before coating the veggie (if it thickens too much during storage, then thin it with a splash of water).
Other easy Asian recipes you might like
- Healthy vegetable stir-fry
- Spicy garlic noodles
- Sweet and spicy orange sauce
- Sweet and sour tofu
- Sticky tofu
- Vegan chow mein
- Orange cauliflower
- Baked tofu teriyaki buddha bowl
I hope you enjoy this teriyaki cauliflower as much as we do! If you try it, please leave a comment below and rate the recipe to let me know how it was. Your feedback is so helpful!
Let's stay in touch with Instagram, Pinterest and Facebook. Also, don't forget to subscribe to my newsletter to be sure not to miss anything.
📖 Recipe
Teriyaki Cauliflower (Oven-baked)
Ingredients
To make the teriyaki sauce
- ½ cup soy sauce - or tamari for a gluten-free option
- ½ cup water
- ½ cup maple syrup
- 2 tbsp rice vinegar
- 2-3 cloves of garlic - crushed
- 1 tsp fresh ginger - grated
- 2-3 green onions - sliced, plus more for serving
- 1 ½ tbsp corn starch - or 2 tbsp of arrowroot powder
To make the cauliflower
- 1 small head of cauliflower - chopped in large florets
- 1 cup whole wheat flour - or the flour of your choice, choose gluten-free if necessary
- 1 cup water
- 1 ½ tsp onion powder
- 1 tsp garlic powder
- 1 ½ cup panko breadcrumbs - gluten-free if necessary
Instructions
- Pre-heat the oven to 400°. Line a baking sheet with parchment paper.
- In a medium bowl, whisk the flour, water, onion and garlic powder until there are no clumps anymore. Set aside. In a medium shallow bowl, add the panko breadcrumbs. Set aside.
- Then, one at the time, sink the florets completely in the flour-water batter, remove the excess (I simply hit the side of the bowl with the floret) and then roll the pieces in the panko to cover them as much as you can. Place the pieces on the baking sheet and keep going until all the cauliflower pieces are covered.
- Cook in the oven for 15 minutes, then flip the pieces and cook for 15 more minutes.
- While the cauliflower bites are cooking, make the teriyaki sauce: In a small sauce pan, combine all the sauce ingredients and whisk until there are no clumps anymore. Cook on medium-high heat until bubbly while stirring often. Once bubbly, keep whisking for 30-60 seconds, then remove from the heat and set aside.
- When the cauliflower is done, transfer them to a large bowl and pour over about half to ¾ of the sauce (or just enough to cover the pieces, I like to keep some for drizzling). Stir gently until all the pieces are covered with the sauce.
- Serve over cooked brown rice with a side of veggies and drizzle with the extra teriyaki sauce. Enjoy!
Video
Notes
- This recipe works better with larger piece of florets so the vegetable does not get too soft while cooking while allowing enough cooking time for the batter to brown.
- A panko type of breadcrumbs works better than a regular type to create more texture and a crispier coating without using oil. I love the panko from Kikkoman (they make gluten-free panko).
- When transferring the breaded cauliflower bites on the baking sheet, leave enough space in between them to prevent steaming the vegetable (it helps brown and crisp them).
- I prefer coating the cooked cauliflower with a little more than half of the sauce. Doing so helps keep some texture to the cauliflower pieces and prevents the batter surrounding the veggie from getting too soft. Then, drizzle your plate with the remaining sauce.
- Nutrition: please note that the nutritional information is an estimate per serving provided for informational purposes only (calculated by software) and accuracy is not guaranteed. Consult with your healthcare provider or a registered dietitian if you need precise nutrition calculations for health reasons.
NUTRITION
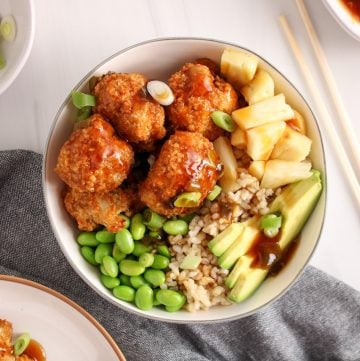
Pin it for later!


Made this last night as cauliflower was on sale at a local store (99 cents!!) This was so good - I love teriyaki flavour and this was delicious and very easy to make. I love cauliflower too so a perfect choice - will be making this again for sure! I had it with quinoa and fresh corn for a vegetable. Thanks for this great recipe Jessica!
Hi Linda!! So glad you enjoyed it! 😊
Amazing recipe, will use the sauce for other stir fry meals too, it was so easy. Thanks!
Thanks for your comment, I'm glad you liked it!