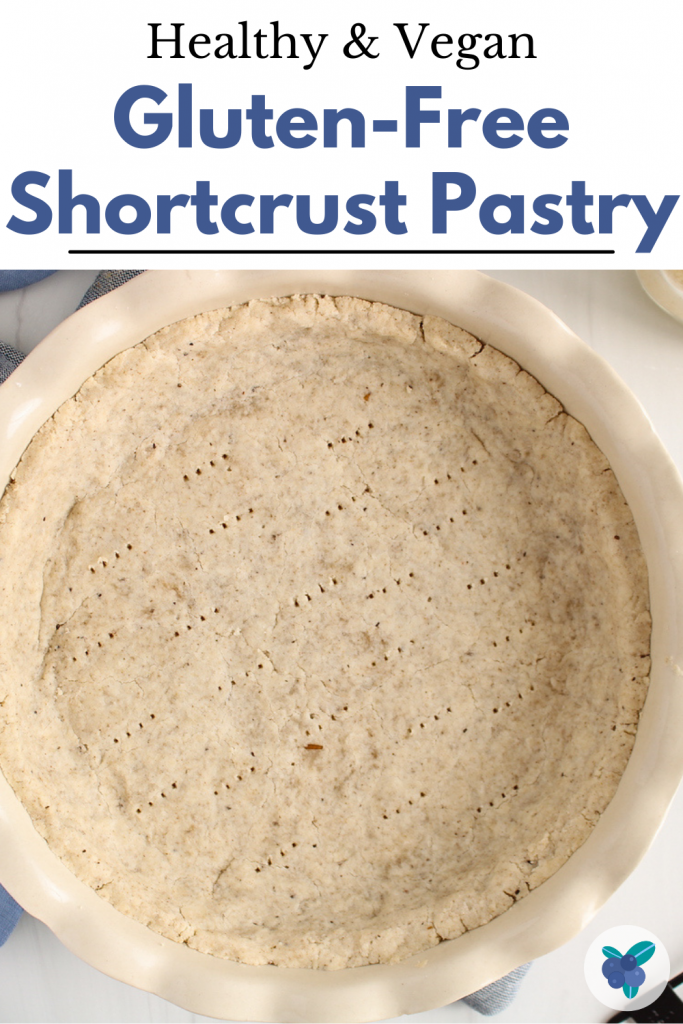
Not sure about making a homemade pie crust that's completely gluten-free? Then, try this easy & fast gluten-free shortcrust pastry and you will be hooked! This recipe only requires a few simple ingredients and can be made + baked within 20 minutes! It is completely dairy-free, egg-free and made without any butter.
I know there are many pie crust recipes all over the internet, but making one that's completely gluten-free, vegan and extra simple (and faster!) was a fun challenge that I was eager to take!
So here is the deal: removing the gluten from a shortcrust pastry recipe means a gentler texture that cracks, crumbles and breaks easier. But, with the right combo of ingredients and a minimum technique (it's easy, I promise!), you can still get a pie crust that's great in texture while still fitting with your specific diet.
And I'm so glad how this one turned out! This recipe gives you a crust with a texture that's soft with a melt-in-your-mouth feeling, still holds well without getting soggy, no matter the kind of filling you are using.
Psst.. if you are not following a gluten-free diet, than you should check out this easy 2-ingredient vegan pie crust!
Vegan & gluten-free crust recipe
You will only need common gluten-free flours combined with tapioca starch and coconut oil to make it. No butter required! Then, add a little water to reach a play dough like texture and have fun molding your pie crust! I also love how this recipe don't require to rest or roll the dough, which makes it a no-hassle pie crust you can wrap up last minute. I make the whole mix right into the pie dish, no need for extra bowls, it cannot get easier than this!
What is a shortcrust pastry
Called "Pate brisée" in French, a shortcrust pastry is a type of pie crust that's made mostly from flour and fat. The fat is incorporated into the flour while still in a solid state and when you manipulate the mixture, the goal is to keep small pieces of fat that will remain intact. These little pockets of fat will melt while cooking and create layers of texture into the crust, which is why a shortcrust pastry tends to crumble or flake a little more.
What you'll love about this recipe
- No rolling or difficult handling of the dough.
- No resting or chilling time.
- You can combine the whole pie crust ingredients in the pie dish before shaping the crust (it saves on the dirty dishes to clean up!).
- Mild in flavor, which pairs well with both sweet and savory pie recipes.
- Great buttery texture (yet, there is no butter!) with a consistency that holds well.
- Lower in fat compared to many other recipes and egg-free, dairy-free and gluten-free.
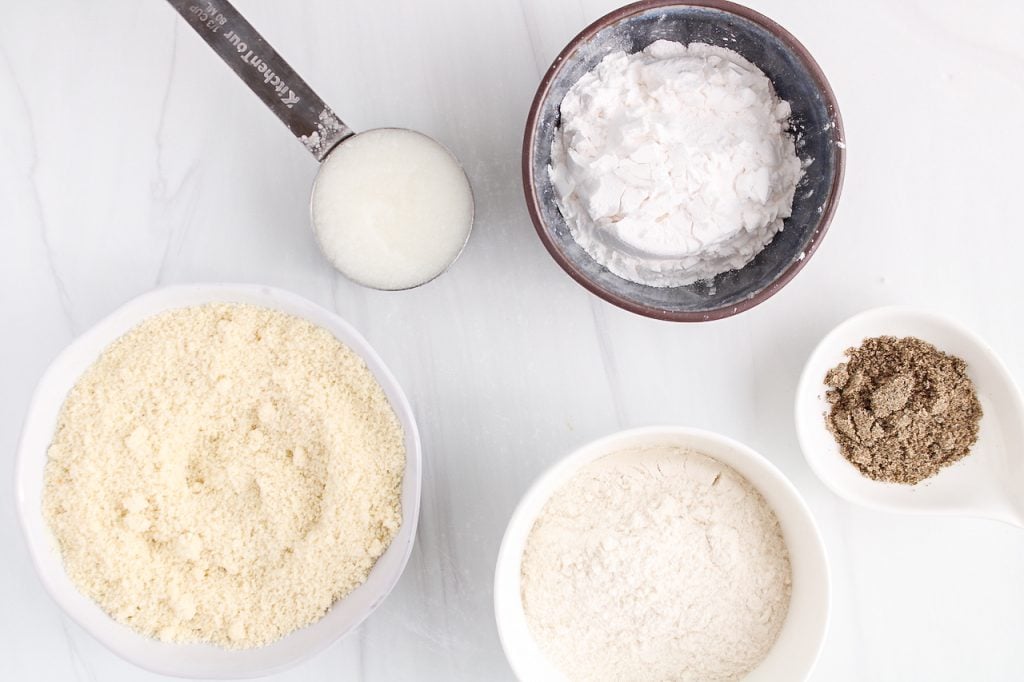
Ingredients you'll need
- Almond flour: adds amazing texture to a gluten-free pie crust.
- Rice flour: I used this brown rice flour from Arrowhead Mills, but regular white rice flour works too.
- Tapioca flour: I used this tapioca starch from Bob's Red Mill. Look for a tapioca starch that's super fine.
- Ground chia seeds: you can grind your own chia seeds in a high-speed blender or buy it already ground. I also tried this recipe using whole seeds which worked out fine as well.
- Coconut oil: do not substitute for any other kind of oil!
- Cold water: just a small amount to help the dough come together.
What is tapioca flour and why use it
Tapioca flour is a starch extracted from the cassava roots. It has a very fine texture (finer than common flour!) that has a very bright white color.
Adding extra starch to a recipe can help improving the texture, especially when baking gluten-free recipes. The starch, when combined with gluten-less flours, will assist in creating a tender-on-the-inside and crispy-on-the-outside crust that also holds well together. You can then create a crust that's fluffier and bouncier even though all gluten was removed from the ingredients.
You can find tapioca flour (also named tapioca starch) very easily in most grocery stores. I used the tapioca starch from Bob's Red Mill and even though I didn't try it, you can usually swap tapioca starch for arrowroot powder in most recipes.
Why use coconut oil
It is important to use coconut oil and not any other kind of oil to make this recipe.
Coconut oil is hard at room temperature (unless you live in a very warm weather!), will melt while cooking and then, will be firming up again once cooling down. This whole process is key to reaching a pie crust that's soft and slightly crumbly, but that also holds well together.
I almost always use a refined coconut oil, unless I am baking something where a coconut flavor is welcome, like in this vegan lemon pie. I use this refined coconut oil from the brand 365.
As a side note, if you live in a warm weather, then simply place your coconut oil jar in the fridge until it firms up.
What kind of almond flour to use
You will need a super fine & blanched almond flour to make this crust. A blanched almond flour simply means that the brown skins surrounding the almonds were removed before grinding the nuts into a flour. I use the almond flour from Bob's Red Mill.
You can also make your own almond flour right at home. I love the way Jeanine from Love and Lemon makes almond flour using slivered almonds. You can choose slivered almonds that have no skin on and blend long enough to create a flour that's super fine.
As a side note, try to avoid using almond meal for this recipe. Almond meal is usually referred as almond flour made from almonds that were not blanched first. It has a darker brownish color with a more coarse texture.
Pie plates tips
Most pie plates will work great, but here are a few things to consider when choosing a plate for your recipe.
Ceramic pie dishes will warm up slower compared to glass pie plates, although they will hold on the heat for longer. So, even if the difference won't be that noticeable, you might need to adjust slightly how long you bake your pie depending on the dish you use.
Also, ceramic pie plates tends to have variable size options with sometimes a deeper shape compared to a glass pie dish, which can influence how thick your crust will be and thus, how long you want to bake it for.
So, just keep in mind that if you use a pie dish that's deeper and bigger than a traditional 8-9 inches, than your crust won't be as thick and you might need to cook a little less longer. I like to pre-bake this pie crust somewhere in between 10-17 minutes at 350º depending on the dish and the recipe I am making.
How to make it
Step 1- Combine the flours
In a bowl (or do like me, combine right in your pie dish!), combine the almond flour, brown rice flour, tapioca starch and ground chia seeds. Stir well to ensure that the mixture is uniform and use a fork to break the ground chia seed clumps if there are any.
Step 2- Incorporate the coconut oil
Use a knife to distribute small chunks of the coconut oil all over the flour mixture (opposed to dumping the whole ⅓ cup all in one spot).
Then, use a fork to mash the coconut oil and break the lumps into tiny pieces. Take your time and keep mashing the oil while incorporating the flour. After a minute or two, the dough will start to come together slightly. You can stop when there are no larger clumps of oil and the mixture looks mostly crumbly. Avoid using your fingers too much (this could melt the oil).
Step 3- Add the water
Depending on how you measure your flours, the amount of water that you will have to add might vary. I always measure flours using a spoon and level method and every time I made this crust I needed 5 tablespoons of water. But, you can start with 4 tablespoons and add more as you need. As you make pie crusts more often, then it becomes easier to know how much water you need to add.
So, make sure your water is cold so it does not melt the oil and add your water to the flour-oil mixture. Then, still using your fork, mash and stir until the dough comes together.
You are not looking for a large ball of dough, but instead, you want the flour mixture to look moist and crumbly without any dusty flour left in the bottom of the dish. Watch the quick video below for a better visual of what you are looking for.
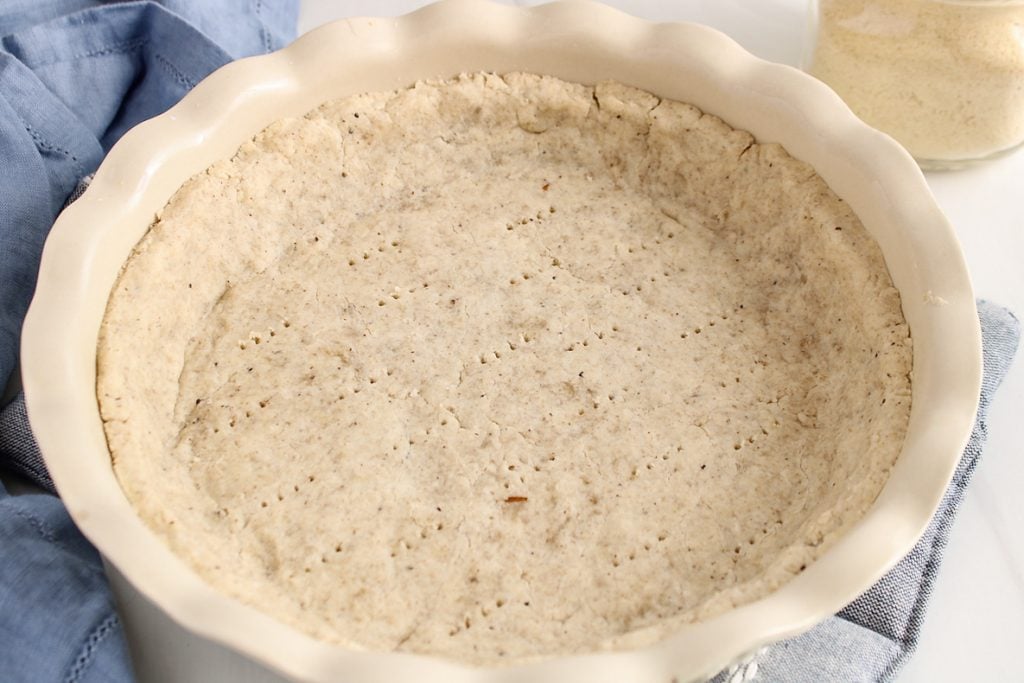
Step 4- Shape
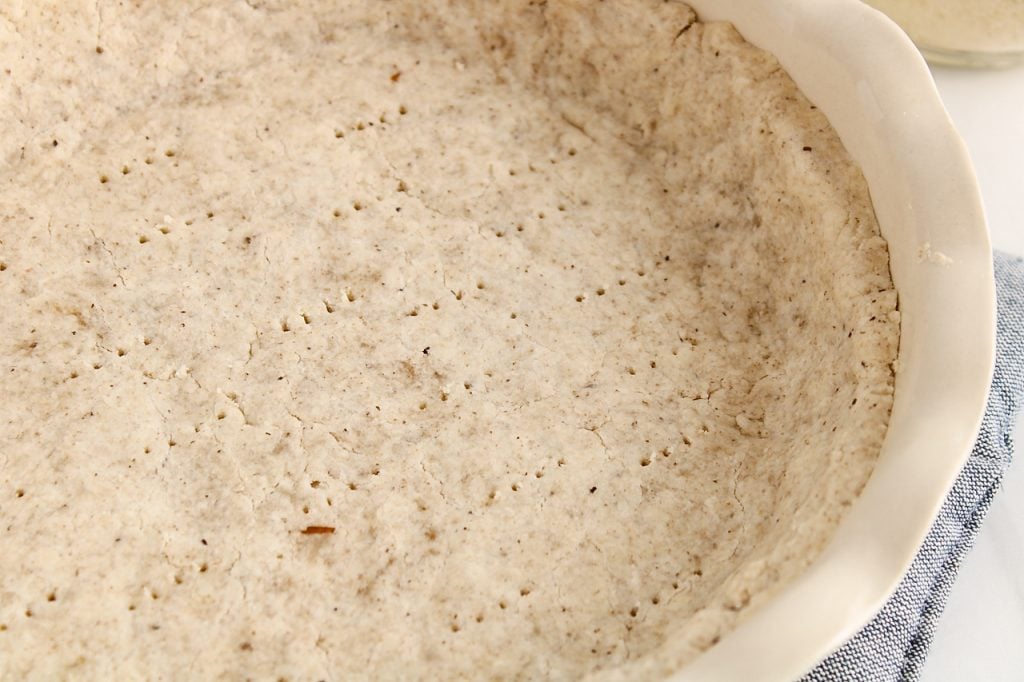
This is where the fun really is! Set your fork aside and use your fingers to press on the dough to shape your gluten-free shortcrust pastry. The mixture needs to be pressed super tight without any cracks left behind, so again, take your time to shape it so it is smooth and uniform.
I like to start by roughly distributing the dough in the dish, then use the bottom of a glass to help me press on the crust to shape the bottom. Then, use my fingers to press and flatten the sides as well.
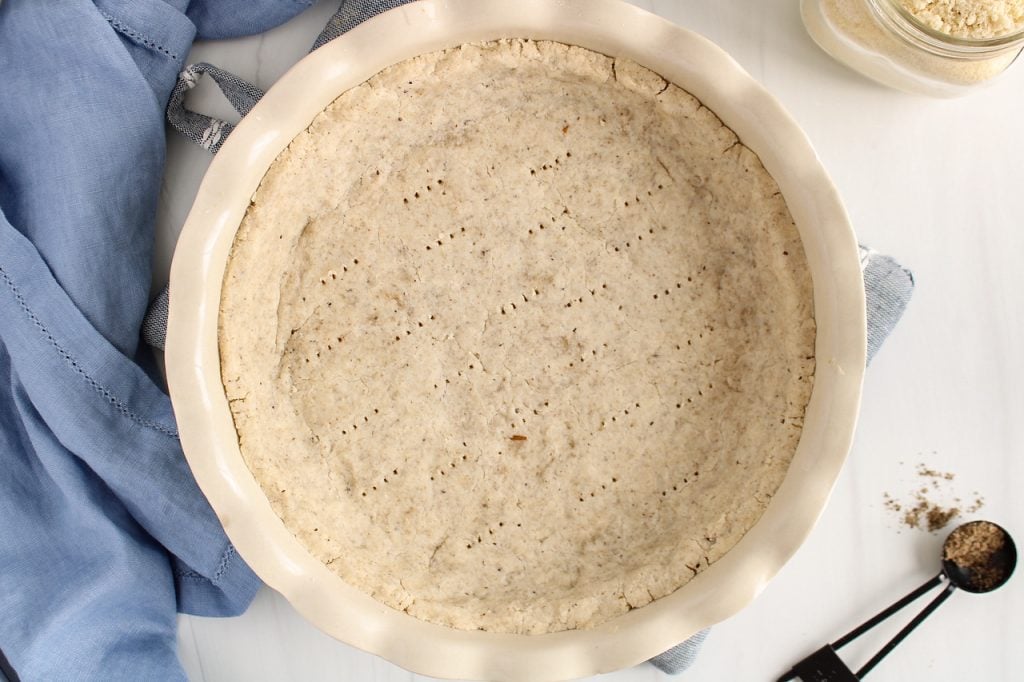
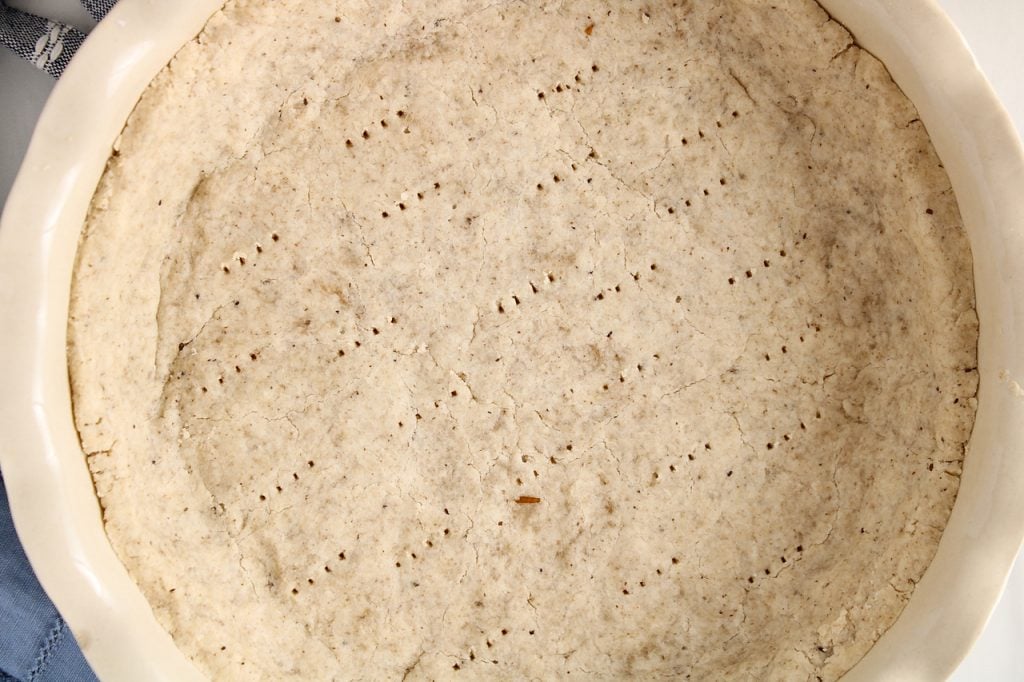
Step 5- Bake
First, I recommend to use your fork to poke a few holes in the bottom of the crust. This will help the dough not to rise too much while baking and prevent larger cracks.
Then, pre-bake the crust at 350º for 10-17 minutes.
Step 6- Fill and enjoy your pie!
Once your crust was pre-baked, then keep going with your recipe. After done, I recommend to let your pie rest for at least 20 minutes before cutting and eating as it will help the crust set and hold better too.


Watch how to make it

Yes that's right, no chilling or rolling the dough!
Oftentimes when making a pie crust, you have to chill the dough before rolling it. This helps the flours absorb the moisture and create a crust that's more roll-able and easier to handle with an elastic/bouncy feeling to it. Making a shortcrust pastry that's gluten-free is different and I didn't find that chilling the dough was that helpful or beneficial in this recipe. Simply make sure to use coconut oil that's solid and water that's cold.
Also, I thought it was easier and less messy to simply shape the dough right into the pie dish without having to roll it first. If your pie dish is large enough, then use it as the mixing bowl as well and simply press on the dough to shape the crust.
Do I really have to blind-bake (pre-bake) it?
Blind-baking refers to baking the crust slightly before adding its pie filling to it.
You will have to blind-bake this pie crust, no matter what filling you add to it and even if the whole pie has to be cooked anyway. Pre-baking the dough first will ensure that the crust is evenly baked and prepare it to be filled with a wet filling without interacting with it too much. This will ensure that you don't have a soft, soggy or leaky crust. So don't skip on this step!
There is a variation in the time you have to blind-bake your crust as this depends on the size and deepness of your pie crust you used (meaning that it depends on how thick your crust was shaped).
If you make a pie that will contain a filling that will need to be baked as well, then you might want to pre-bake the crust first for about 10 minutes, then add your filling, then bake more following the recipe. If making a pie with a raw filling that simply needs to rest in the fridge to set without cooking, then consider pre-baking your crust for a little longer, about 15-17 minutes, watching carefully until it browns slightly.
I noticed that the longer I was blind-baking my crust the more it was rising in the oven. Make sure you poke your crust first with a fork to let the air go through while cooking. If it lifts too much and thus creates cracks, then let the crust sets at room temperature for 15-20 min and it will settle nicely.
Variations to the recipe
This is just not the kind of recipe you can play around with the ingredients much. You need a right combo of ingredients that are properly measured to make a crust that has the right texture. So, swap ingredients only at your own risk!
Storage
This pie crust stores very well in the fridge. I have made whole pies ahead and stored in the fridge for days and it seems like the crust gets better every day!
You can also blind-bake the crust, let it cool at room temperature and cover tightly with a plastic wrap (it can dry easily) before storing in the fridge until ready to add your filling.
Other gluten-free baking recipes you might like
- Buckwheat chia bread
- Rhubarb crumble
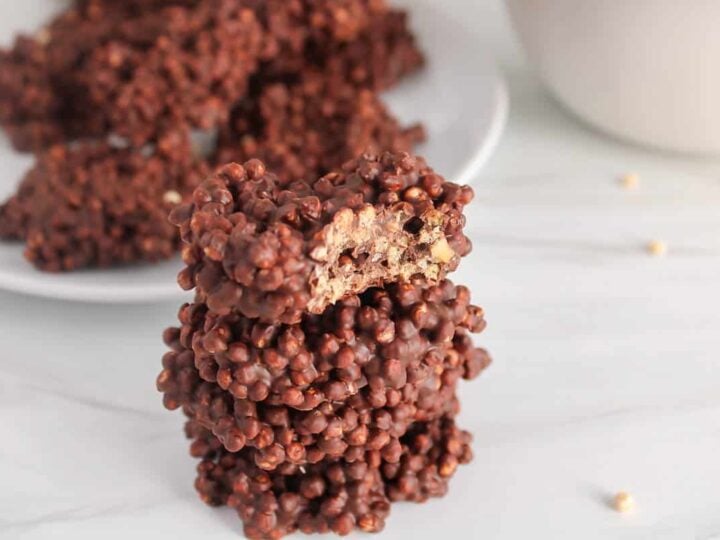
- Strawberry chocolate bars
- Vanilla almond granola
- Oat-flour pancakes
How to use this crust recipe
I hope you enjoy this vegan & gluten-free shortcrust pastry as much as we do! If you try it, please leave a comment below and rate the recipe to let me know how it was. Your feedback is so helpful!
Let's stay in touch with Instagram, Pinterest and Facebook. Also, don't forget to subscribe to my newsletter to be sure not to miss anything.
📖 Recipe

Gluten-free Shortcrust Pastry (Vegan)
Ingredients
- ¾ cup almond flour - blanched and fine
- ¾ cup brown rice flour - white rice flour works too
- ½ cup tapioca flour - also called tapioca starch
- 1 tbsp ground chia seeds - whole seeds work too
- ⅓ cup coconut oil - choose refined to avoid coconut flavor
- 5 tbsp cold water
Instructions
- Pre-cook the oven at 350º.
- In a bowl (or right in your pie plate!), combine the rice flour, almond flour, tapioca starch and ground chia seeds. Use a fork to ensure there are no chia seed clumps anymore.
- Then, distribute the coconut oil all over the flour in small clumps (do not transfer the whole ⅓ cup of oil all in the same spot!) and, still using your fork, mash the oil to break the clumps in smaller pieces and slowly incorporate the flour within the oil. Keep mashing until you reach a crumbly texture.
- Add the cold water over the mixture and keep mashing with your fork. I usually need 5 tablespoons of water, but you can start with 4 and add 1-2 more tablespoon as needed. The dough will slowly start to come together as you are mashing. It is ready when there are no dusty fine flour left at the bottom of your dish.
- Once the dough looks ready, then set your fork aside and use your fingers to press on the dough and shape your pie crust. Do not leave any cracks behind and shape the sides as well so the crust is tight and uniform.
- Poke the bottom of the crust with a fork and pre-bake for 10-17 minutes. Then, use as directed by your recipe. Once baked, let the pie rest for at least 15 minutes (it needs to cool down to set).
Video
Notes
- Depending on the side of your pie dish (or how thick your crust is after shaped) and if you need to also bake the filling of your pie, you will have to pre-bake your pie for 10-17 minutes. For a classic pie plate that's 9 inches wide, then aim for closer to 15 minutes of pre-baking. You can pre-bake for about 10 minute for larger pie plates. If you do not have to bake your pie filling (ex: for vegan raw cheesecakes that only needs to set in the fridge without cooking the filling), then you can consider pre-baking the crust closer to 17 minutes.
- Do not use any other kind of oil than coconut oil!
- Nutrition: please note that the nutritional information is an estimate per serving provided for informational purposes only (calculated by software) and accuracy is not guaranteed. Consult with your healthcare provider or a registered dietitian if you need precise nutrition calculations for health reasons.
NUTRITION
Pin it for later!

Hi Jess, I know you said substitutions are to be made at your own risk, but what do you think about using a flaxseed egg instead of the ground chia seeds? In our area, buying chia seeds is difficult - Tokyo. Thank you!
Hi Bob! I think ground flaxseed would work too! 😊
can you use this pie crust for savoury dishes?
Yes you can 🙂